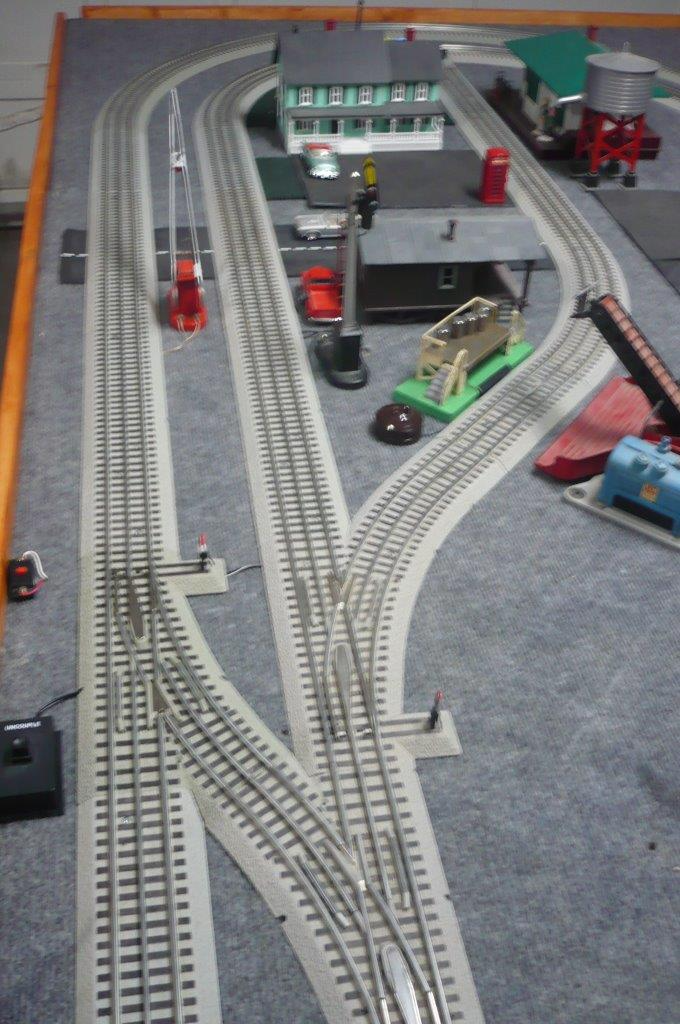
Modular O Gauge Layout on Doors
Modular O gauge layout on doors.
One model railroader’s solution for changing needs – a flexible O gauge layout
By Gary Walmsley, CTTA, March 2017
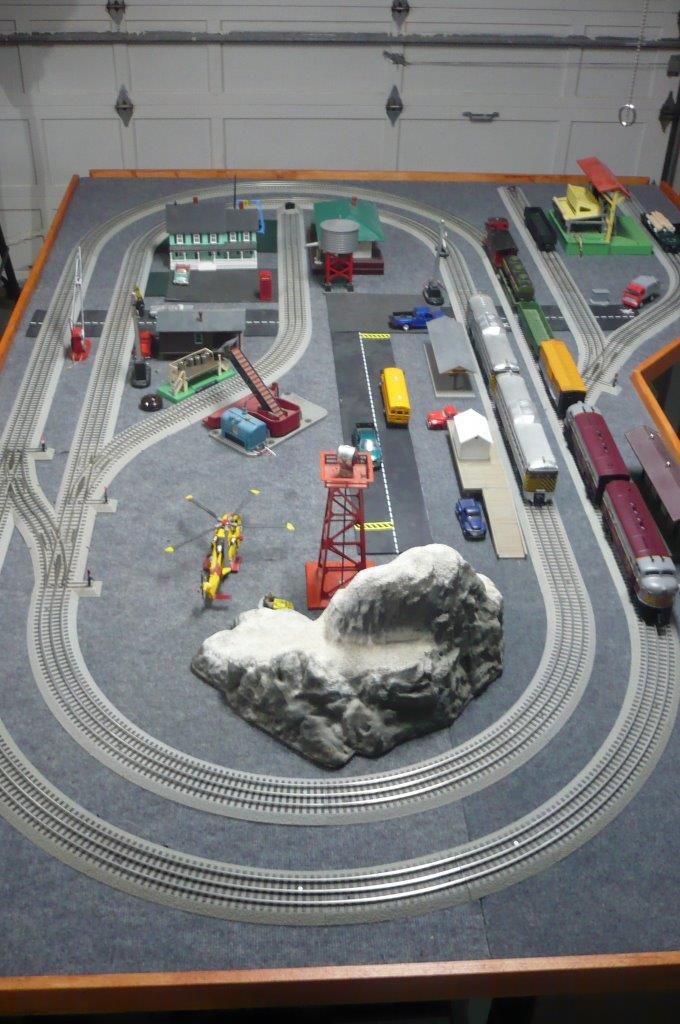
History of the layout on doors
Over the years, my wife and I moved several times and those who know us well have seen several layouts that came and went! My plans to make a large layout that would serve for many years was abandoned as the space available for my trains seemed to vary according to the house we currently
occupied.
Like so many others involved in O gauge trains, I researched layout ideas from many sources and, as my interests and passions changed, and I modified my collection of O gauge trains and explored a variety of layout designs to meet my needs.
At an early point I made a small “doorway”
layout using a 36” “hollow core” door slab. and screwed tinplate track on it over indoor-outdoor carpeting.
This served well for O31 track for a small oval for the grandchildren to play with and was a source of much enjoyment for then – however – it failed to meet any criterial for running trains of any length or for operating trains in any prototypical manner.
When it appeared that we would probably move again at some point, I decided to accept the inevitable and design a layout that was truly “portable” and “flexible”. As a result I have created a model railroad that can be easily re-configured to fit in any room or garage. There is lots of room under
the tables for storage and the whole thing is
remarkably light yet sturdy.
Construction
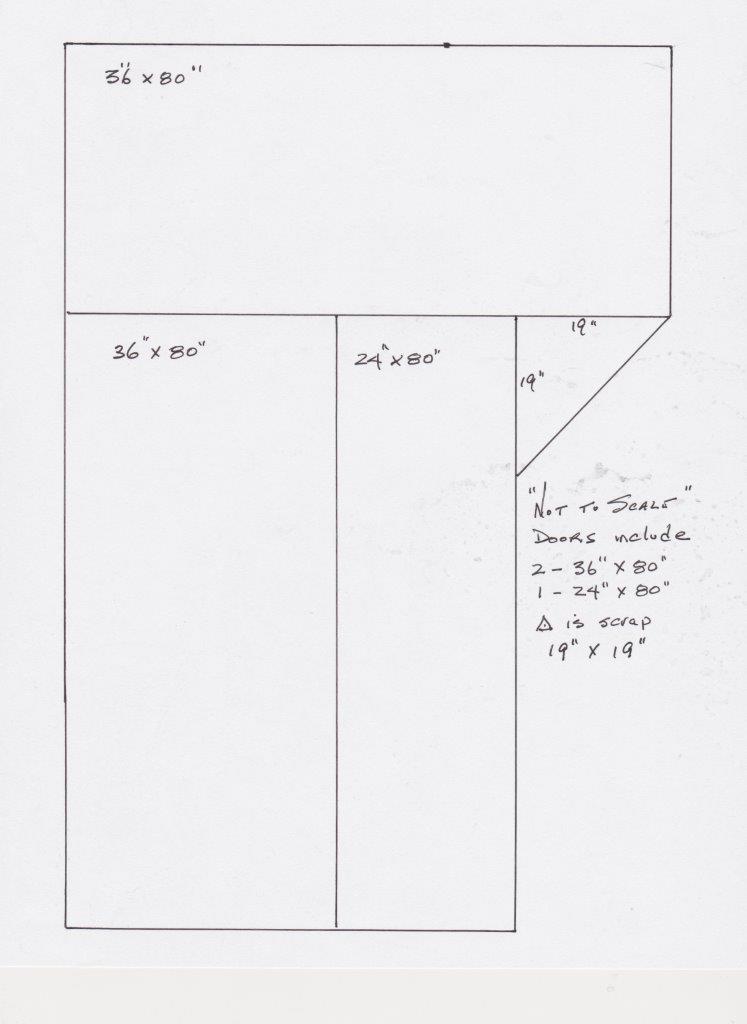
The above layout was created using three hollow core doors and a
small triangle of plywood. I wanted to be able to use Lionel Fastrack, with both
36” and 48” curves, to accommodate some of the more modern rolling
stock. I also wanted to have manual switches so that the grandchildren
could be actively involved and have operating accessories that would also
keep them interested, rather than just having trains run around in circles.
I decided to keep wiring simple and although there are a number of
articles on how to “bury” wiring inside hollow core doors, I decided that
in the interests of “flexibility”, I’d simply run whatever wires were needed
under the Fastrack. As an example, the uncouple and unload controllers
are simply located near the accessory. (The children want to be near the
accessory anyway when they are operating it.)
The doors are kept together and the whole thing given a finished
look using a band of 1″ X 3″ wood, stained or painted a nice colour. I continued
to use indoor-outdoor carpet as you can see and the “scenery” is also flexible.
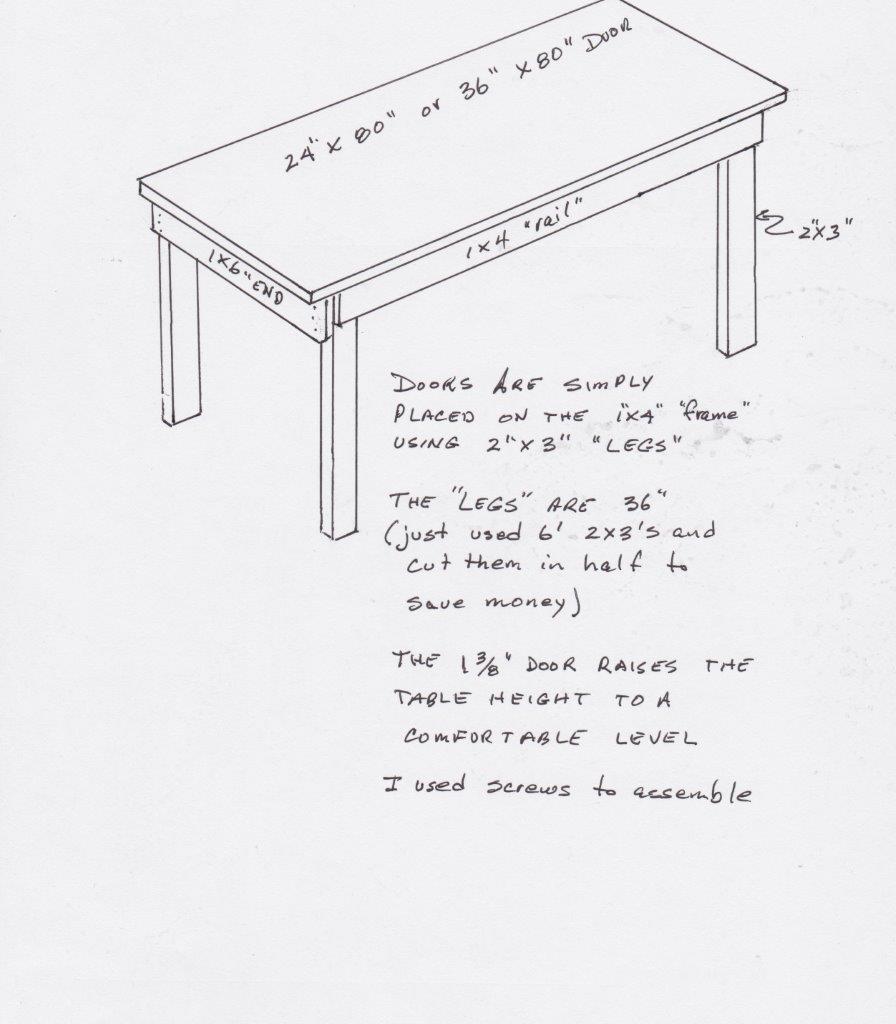
Bench work diagrams
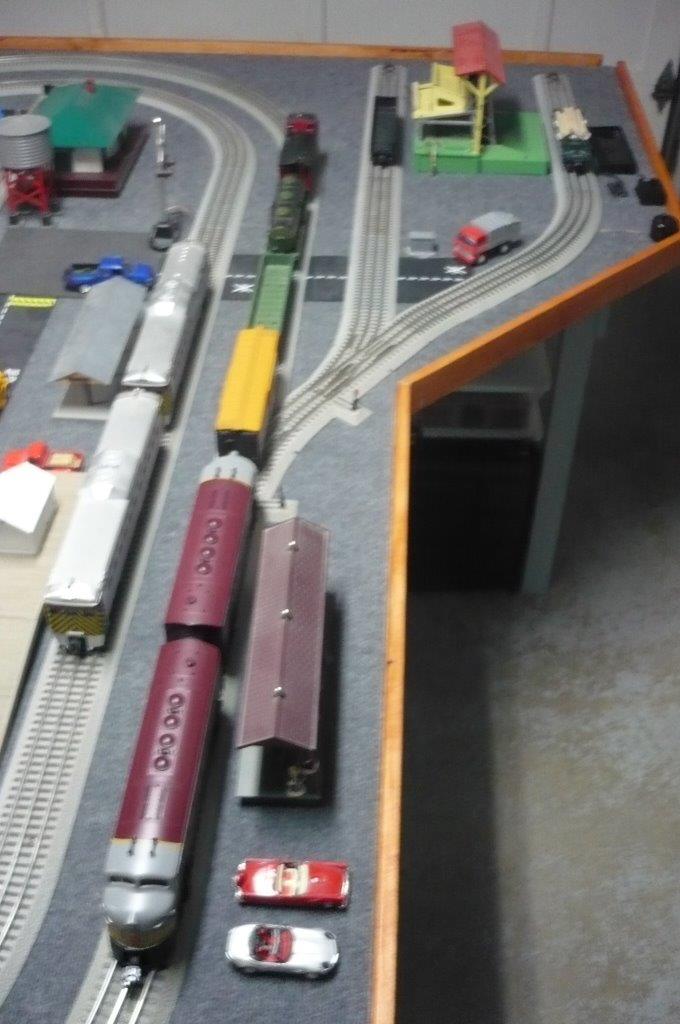
Running trains on the modular layout
My main interest in toy trains is for the post war period and that is what I tend to keep as a small collection. I sometimes operate them as well.
But for this little layout, I’m using TMCC and an original CAB 1 that will run my more modern TMCC engines. I can also use my older TMCC and
135 watt Powermaster to run my postwar trains, as well as those for any guests who want to run their MTH engines.
TMCC also allows me to walk around and help the grandchildren as they enjoy running the trains. I have also used the MTH DCS “Remote
Commander” in much the same way.
Happy Trains!
Gary Walmsley
